Handvo/Ondhwa; Baked savoury lentil cake bursting with yummy goodness. (Healthy che)
Hmm, what can I say about this? Fermentation and patience is key?
Gosh, how I despise waiting for my food!
Sabar Ka Phal Meetha Hota Hai (The fruit of patience is sweet) well in this case, it’s spicy.
Overnight or 6 hours will be more than enough. The Tadka is totally optional, however it does add another dimension if you will onto this cake.
This is so versatile, you have complete control over this in terms of taste. I know many who love it spicy, I know many who prefer it to be on the sweet side too. It’s just up to your preference when it comes to taste. Also, the sort of veggies you can add into this is totally your call, I like my Handvo simple so I normally opt for using Grated Carrots & Bottle Gourd (I squeeze the water out of it then pop it into the batter.)
It doesn’t stop there. It’s up to you if you want to add the Tadka on top or if you’d like to add a bit into the batter or if you want to skip it entirely.
*I will update this post with more pictures soon. I forgot to take pictures after I had cut this, I was pretty hangry!*
The What:
- 1 Cup Handvo mix
- 2 Tbsp Corn Flour
- 1 Tbsp Semolina (Fine Sooji)
- 2 Tbsp Yogurt
- 3 Tbsp Oil
- Salt to taste
- 1/2 Tsp Turmeric
- Ground Cumin & Coriander Powder
- Sugar to taste
- Green Chilli and Ginger Paste to taste
- 1/2 Tsp Sanchal
- Handful of Fresh Coriander finely chopped
- Warm Water
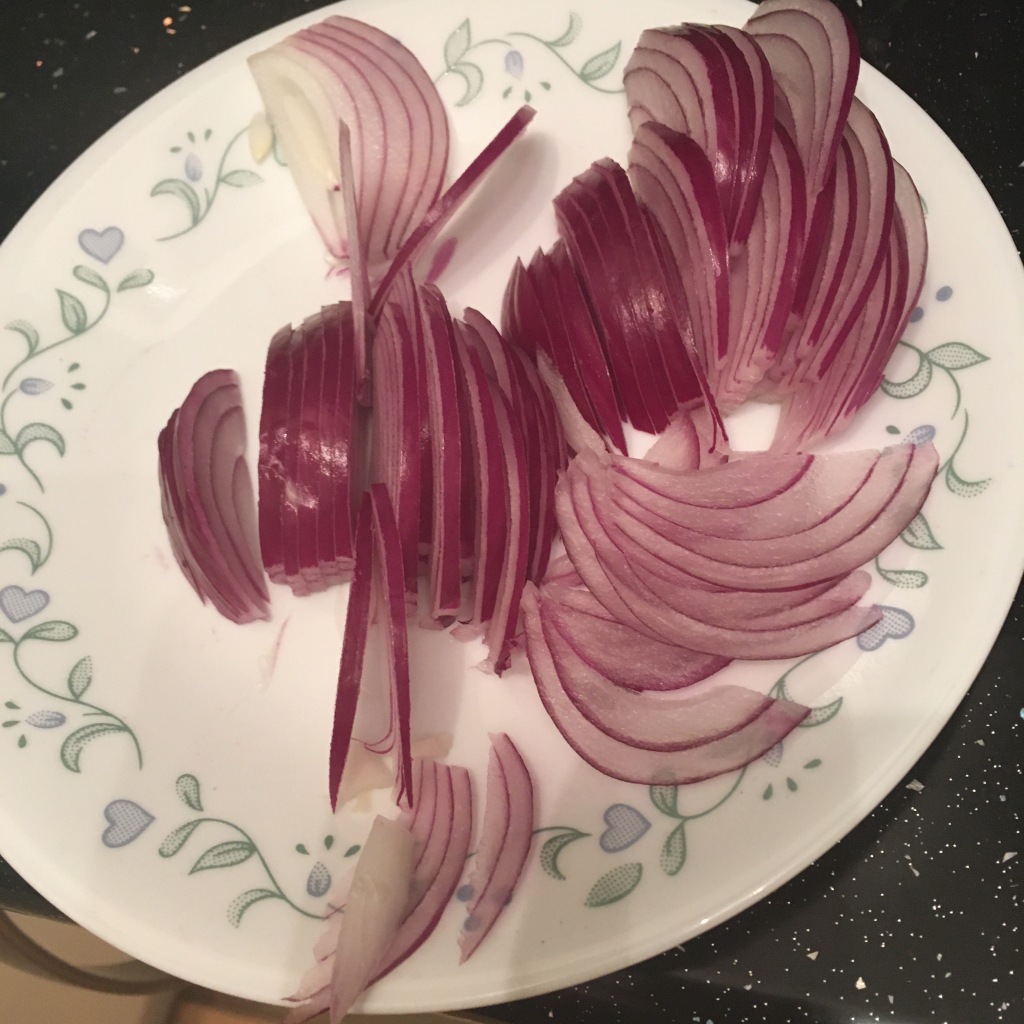
Veggies
- Grated Carrot
- Grated Bottle Gourd (Dudhi)
- Green Peas
- Sweetcorn
- Peppers
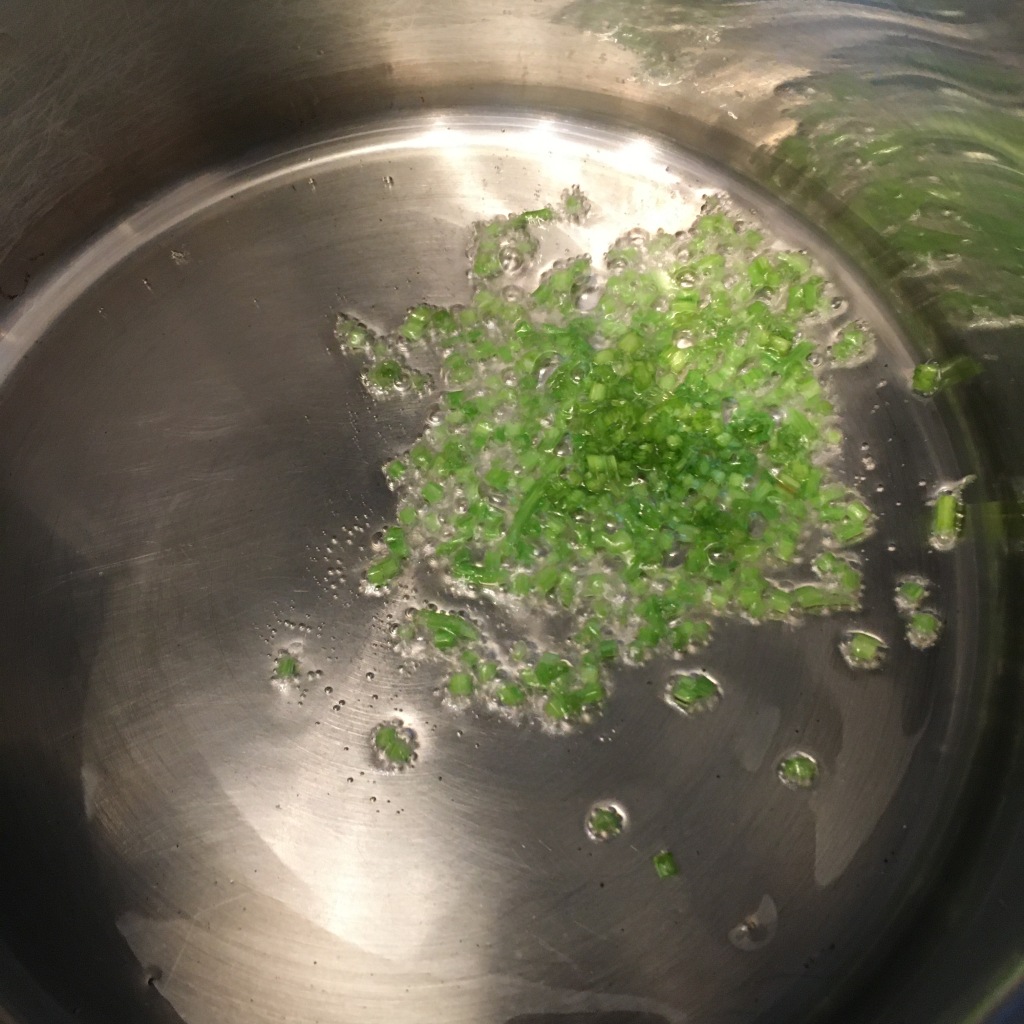
Tadka
- 4 Tbsp Oil
- 1 Tsp Mustard Seeds
- 1 Tsp Cumin Seeds
- 1 Tsp Sesame Seeds
- 1/4 Tsp Asafoetida (hingh)
The How:
- First of all start by greasing an oven proof dish, can be a cake tin or a square tin, then pop it to one side.
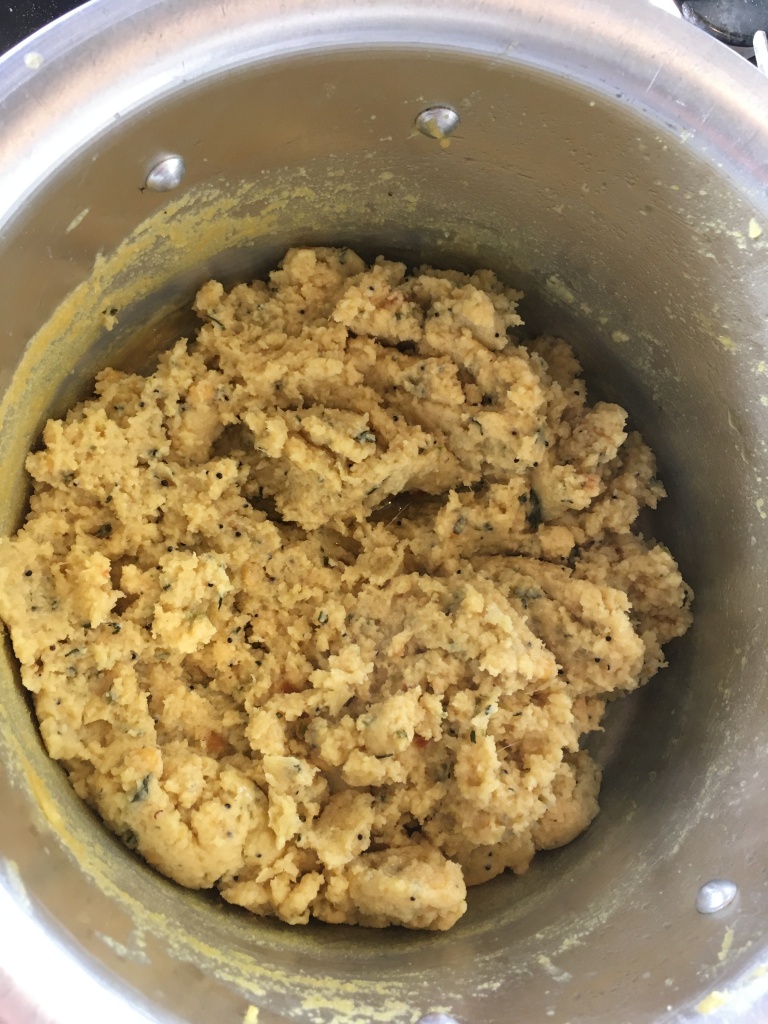
- In a bowl, mix everything apart from the ENO & Veggies.
- Give it a taste and make sure everything is up to par with your palate.
- The batter shouldn’t be too thick nor too thin, keep in mind as the batter ferments it will get a little thick.
- Cover and let it be overnight or for 6 hours.
- Give everything a good mix and add in the Veggies.
- Have another taste.
- Make the Tadka so it’s ready to have on hand because you’ll have to work a little fast.
- Add the ENO to the batter and drizzle 2/3 Tsp of Lemon Juice directly over it to activate it. Make sure you add the ENO in one place and not sprinkle it everywhere.
- Once it’s activated, give it a stir until everything is frothy and well combined.
- Spread the batter into the greased tin.
- Drizzle over the Tadka.
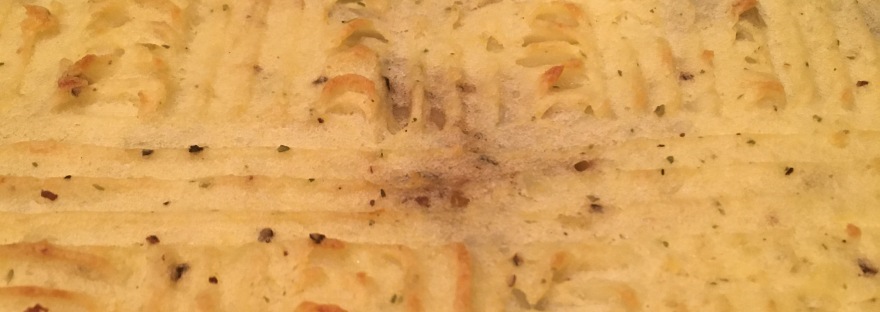
- Bake at 170 degrees c for 30/40 minutes.
- You can turn off the oven and keep the Handvo in there if you wish, you’ll get a nice golden crispy top.
It’s ready to Eat, Share and Enjoy!